timgineered.com
timgineered.com
  • Blog
  • About
  • Contact

FIX YOUR BBQ, BURNER REPLACEMENT for $20

6/15/2015

2 Comments

 
I HAD NO IDEA HOW BAD IT WAS!  

My burners had rusted out and since they sit below a set of plates that sit below the grill surface, I never bothered to look.  You could definitely tell that there was something wrong when cooking, since I had major hot spots and I couldn't reliably figure out cook times.

Each burner had rusted through, some were holding together just enough to cook by, one was a flame thrower.
Picture
Picture
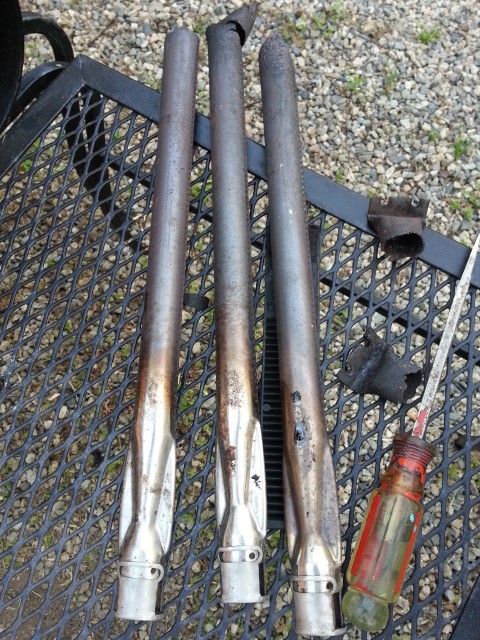
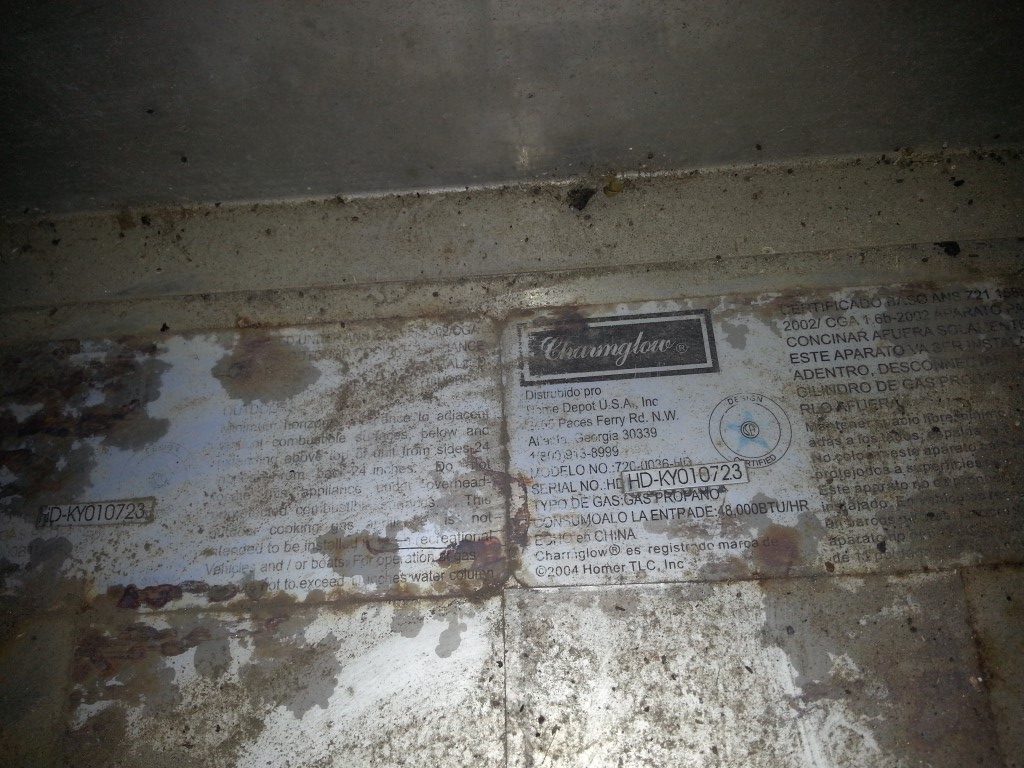
Identifying your grill is much easier if you can find the Model# or even the brand name via a sticker on the underside somewhere.  Mine was in back near the gas cylinder.

The internet makes all of the difference here when looking for replacements.  No need to visit a BBQ store, but you can if you prefer to patronize a brick-and-mortar businesses.

You may have to search a couple of different word combinations.
I was able to find my brand-new stainless steel burner set for less than $20 shipped from Amazon (or a retailer via Amazon).  

I couldn't be 100% sure they would work, but it turns out that there aren't that many different grills or different burners out there.  So just by identifying the size and shape via my original parts and their website pictures, I felt comfortable I had the right set.  When it arrived I was happy to see that I chose wisely.

If you are really unsure of the parts, make sure you have an easy return option.  Paying a little more at a brick-and-mortar businesses may be the better choice in this case.
Picture
Picture
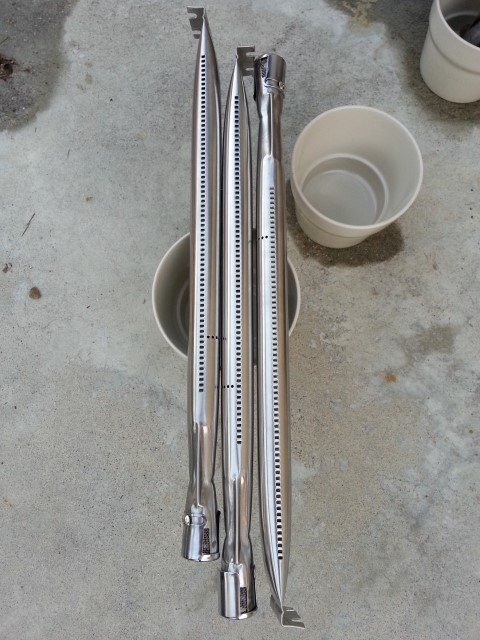
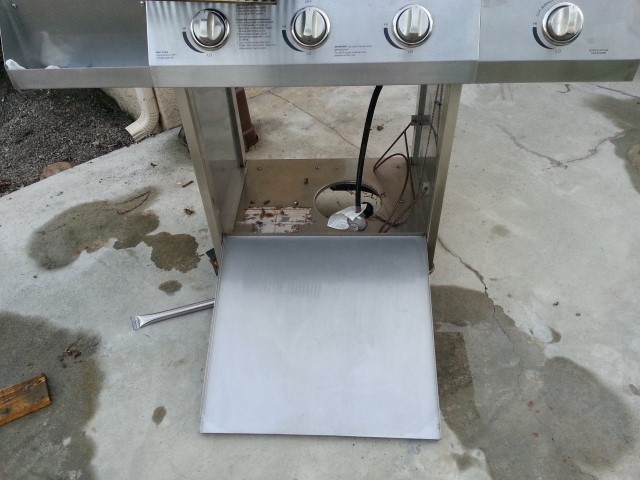
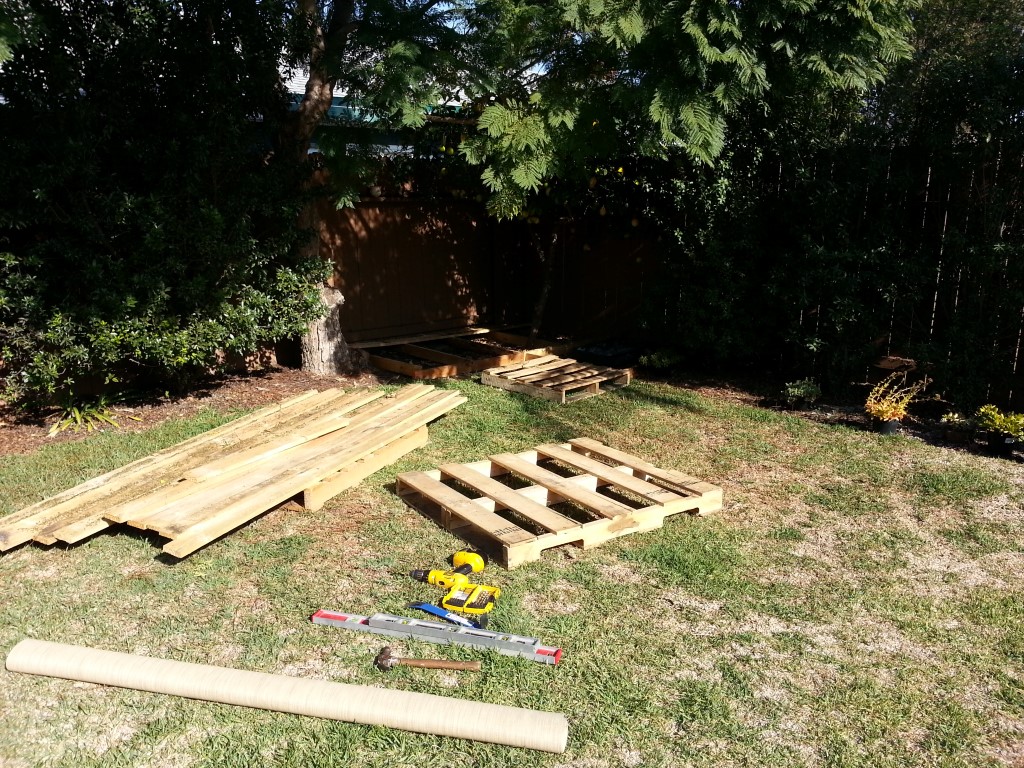
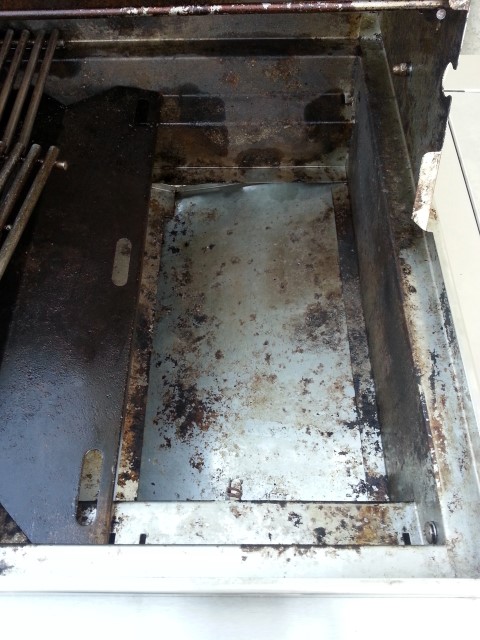
I took the opportunity once everything was removed, to power-wash my BBQ inside and out.  I didn't use any soap or chemicals since this cooks food, but the pressure of my cheap power-washer was enough to get it this clean.

If you want to clean deeper, now is the time, but keep in mind that it is just going to build-up "flavor" again.  

The grills themselves got a little more cleaning via a wire brush since I wanted them to be clean and ready to grill.
There was a little rust on the heat plates, but I wasn't worried about that since it never touches the food.

Anything that was stainless steel, like the grills came clean with a little elbow grease.

I don't think the grills ever looked this good (I never saw them new since this BBQ was a hand-me-down from a family member).
Picture
Picture
Picture
Picture
Picture
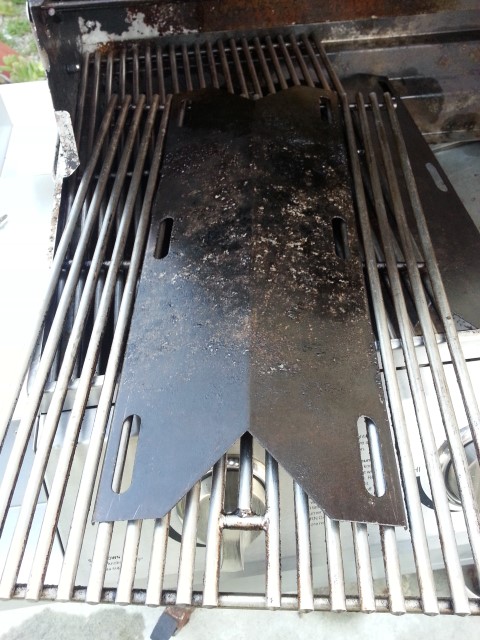
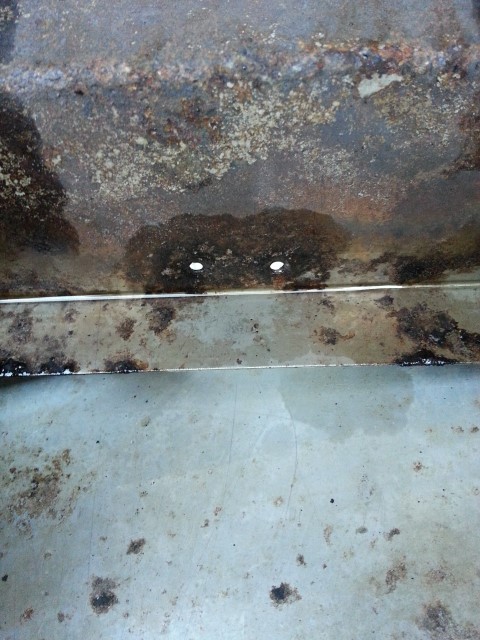
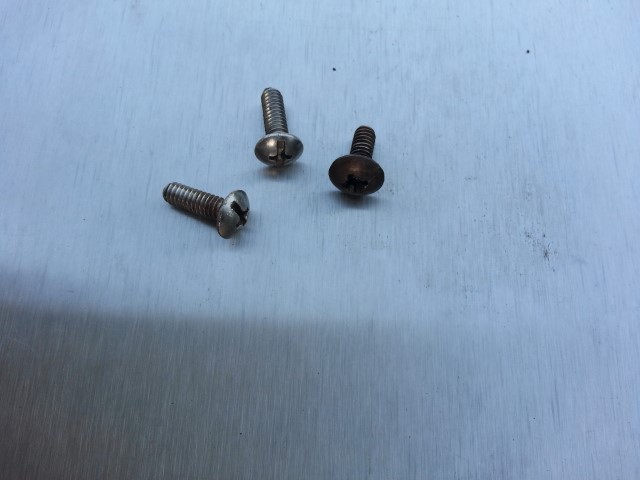
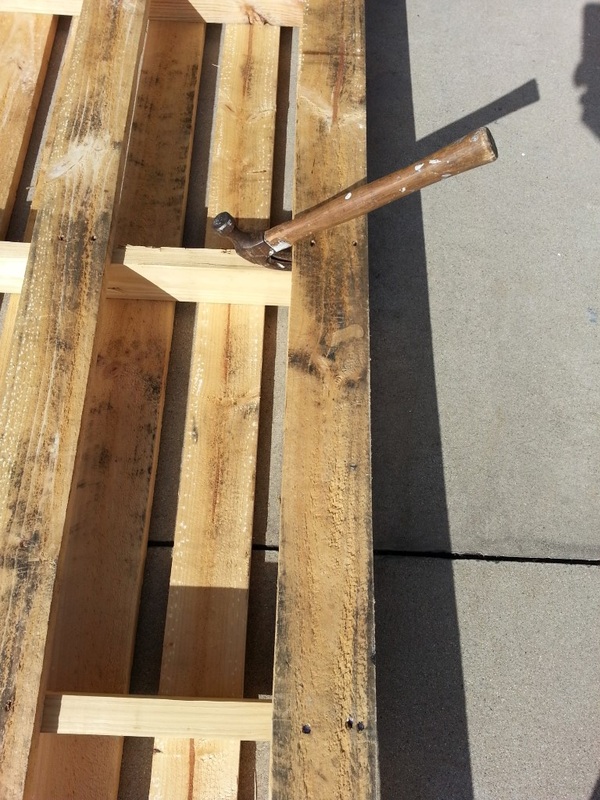
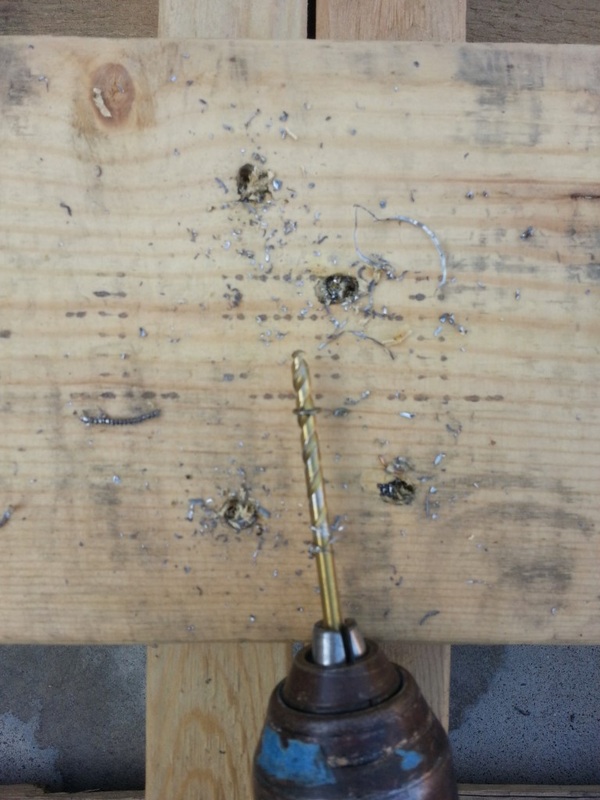
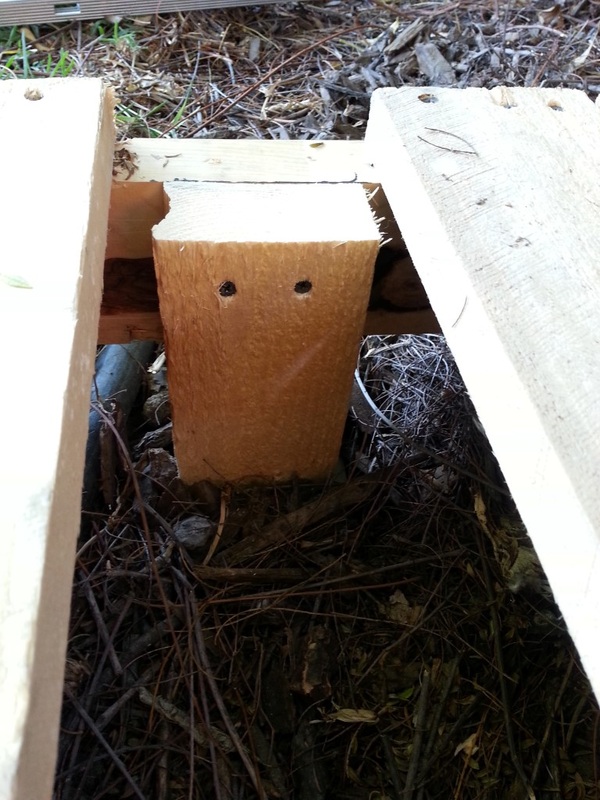
I had some really rusty original screws and I don't remember the new burner set coming with any new screws.  I had a couple screws break off in the hole when trying to remove them, so I knew I was going to be short on screws.  

The good news is that there are common sized screws elsewhere on the BBQ, as long as you "borrow" one from a non-structural location it should be fine.  Or you can head to the hardware store and look for matched replacements. 

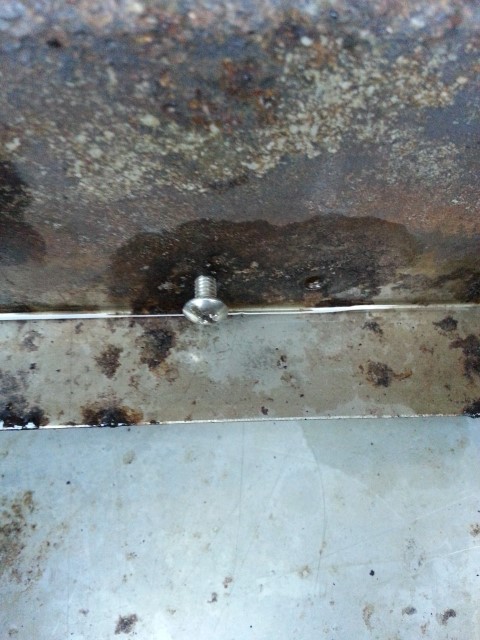
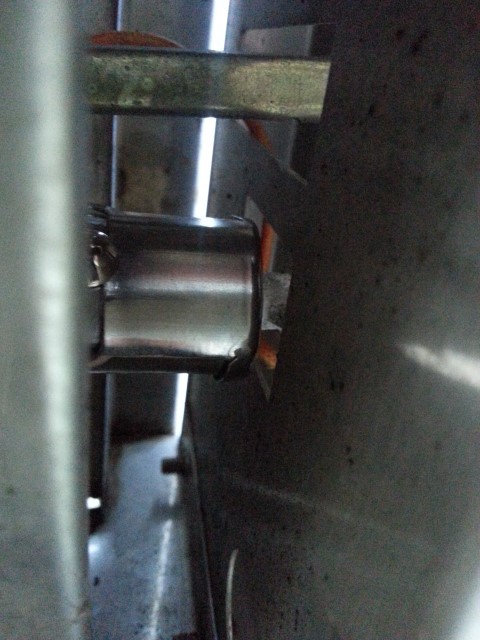
I only needed one screw per burner since they wouldn't want to twist anyway due to the way they rest on the edge of the sheet metal.  Notice my nice shiny new screw "borrowed" from underneath somewhere.
Picture
Picture
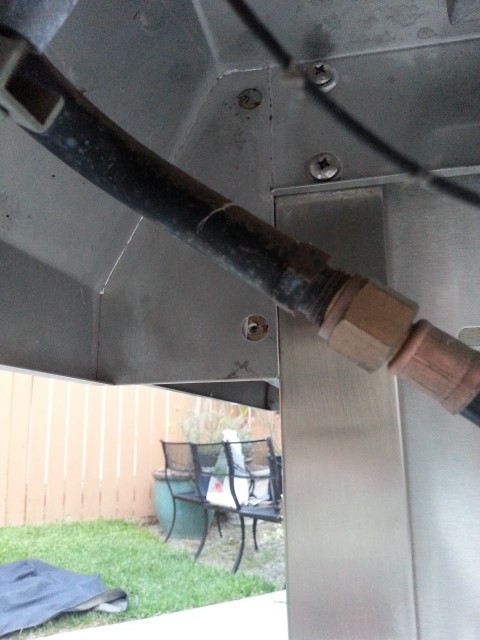
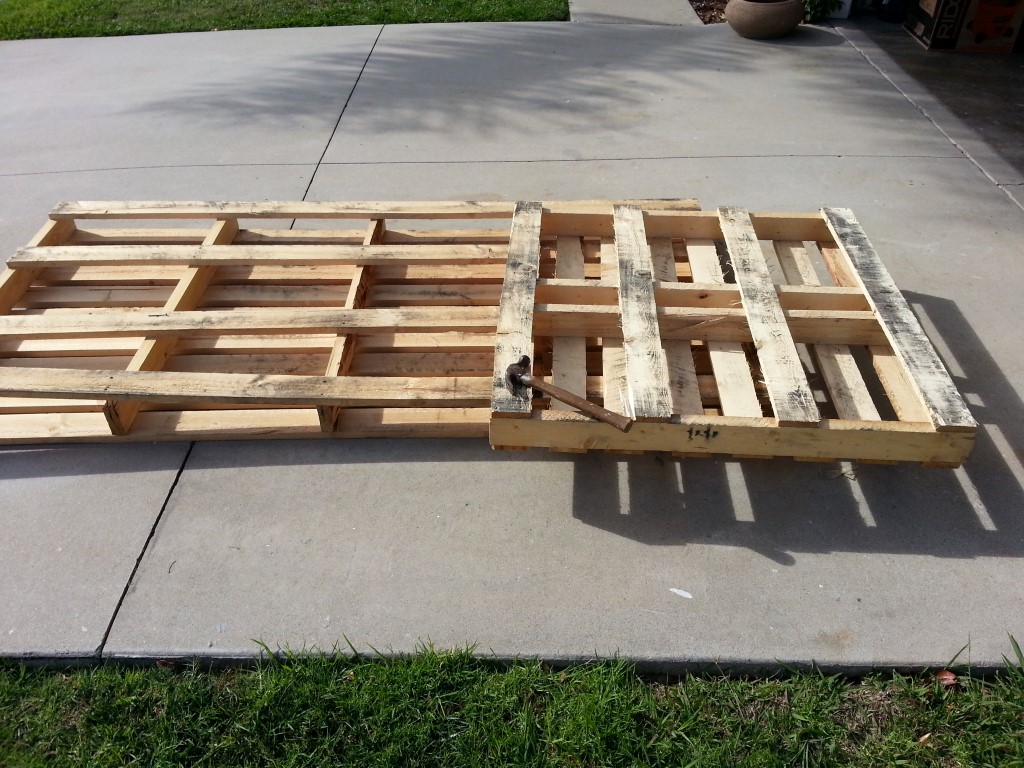
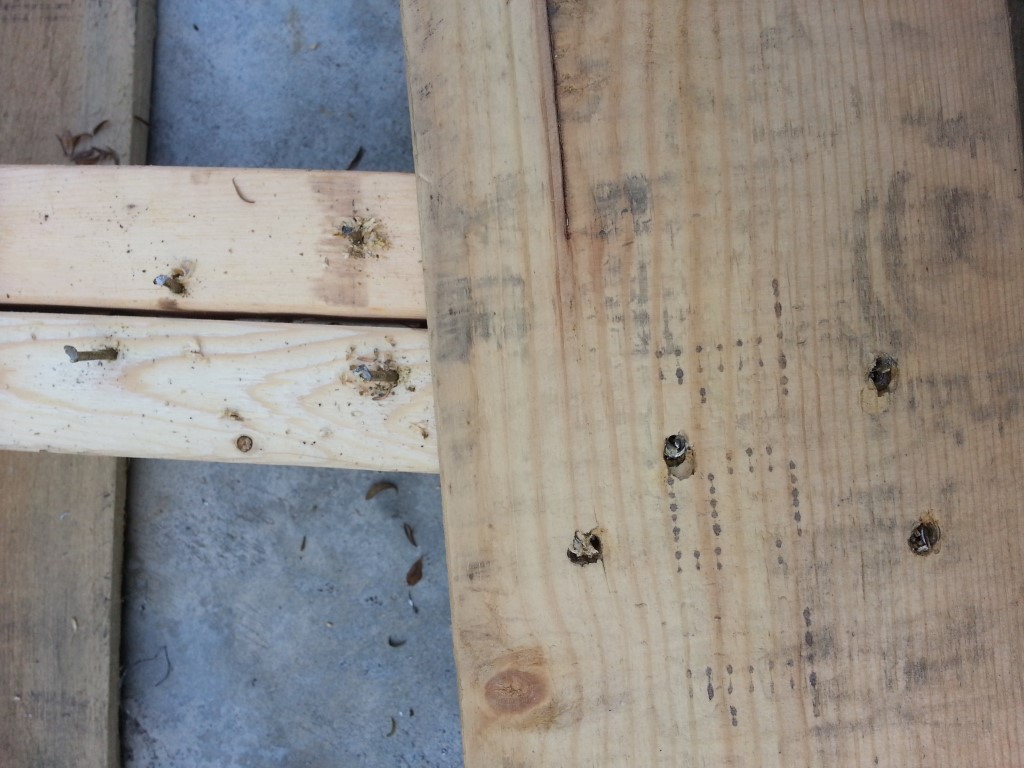
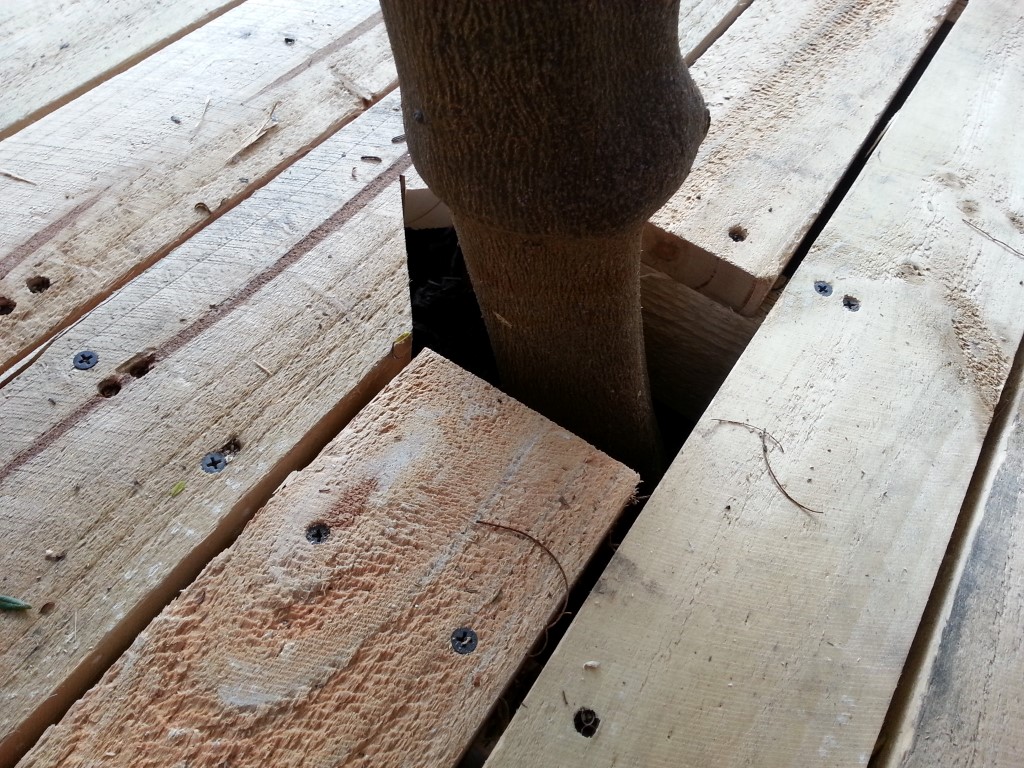
Taking the bottom panel apart was a little difficult, but mostly it was figuring out how it was constructed and where screws were placed.  Be careful not to strip out any screws.

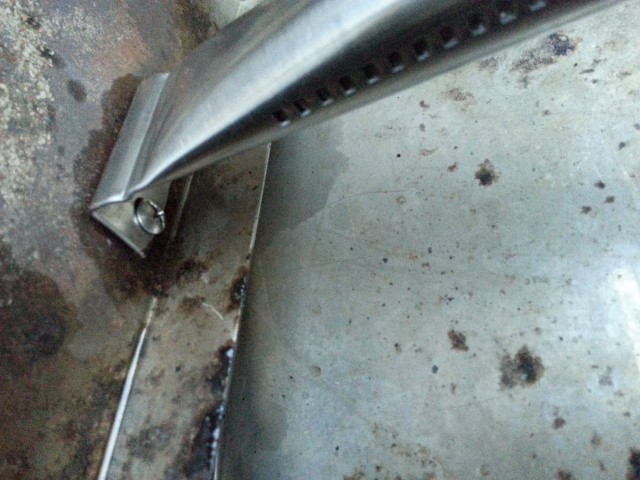
I needed access to the front panel so I could loosen it a bit.  Just enough so I could pull on it to gain a little room to slide the new burners over each gas valve.  Then the burners just screw their floating end to the back wall of the BBQ.
Picture
Picture
Picture
Picture
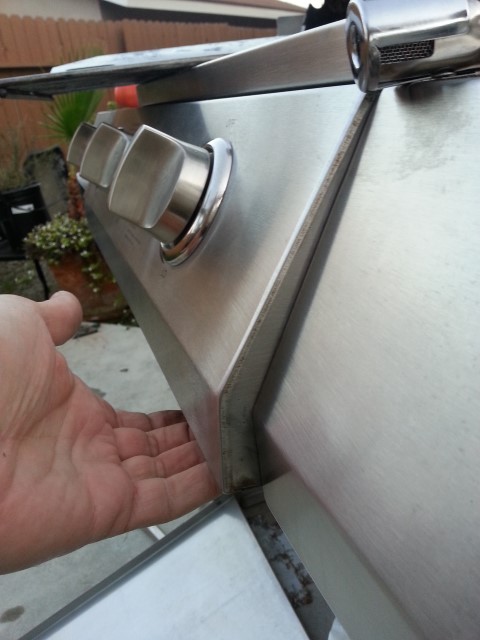
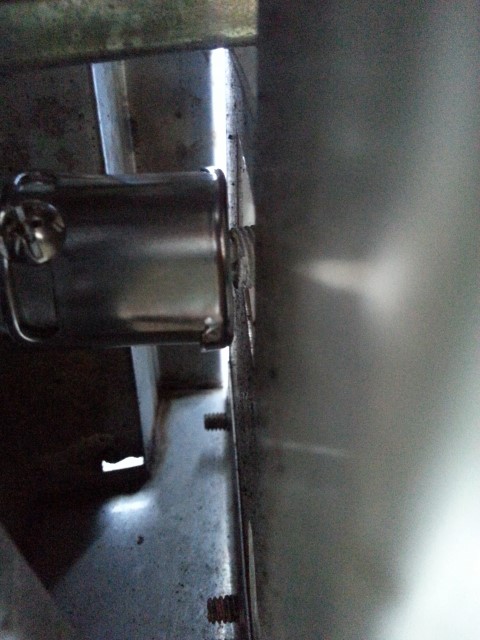
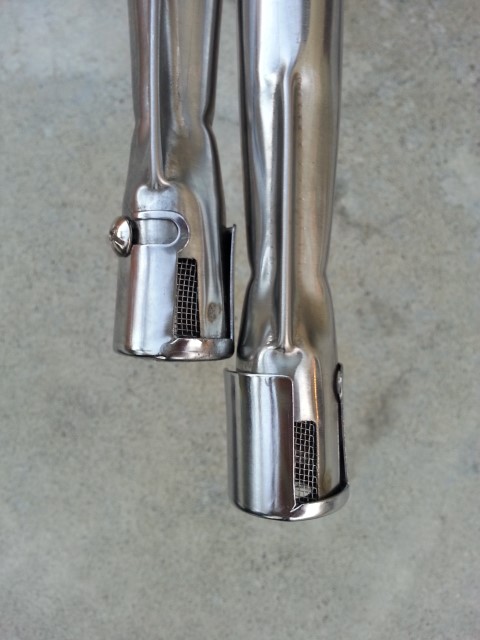
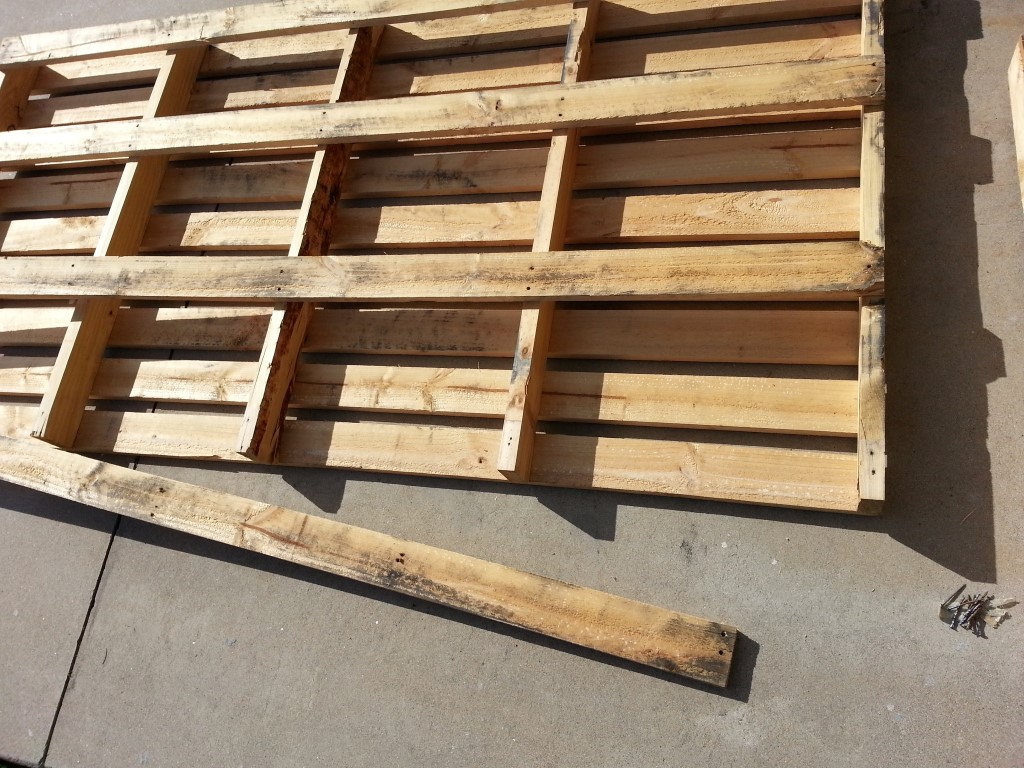
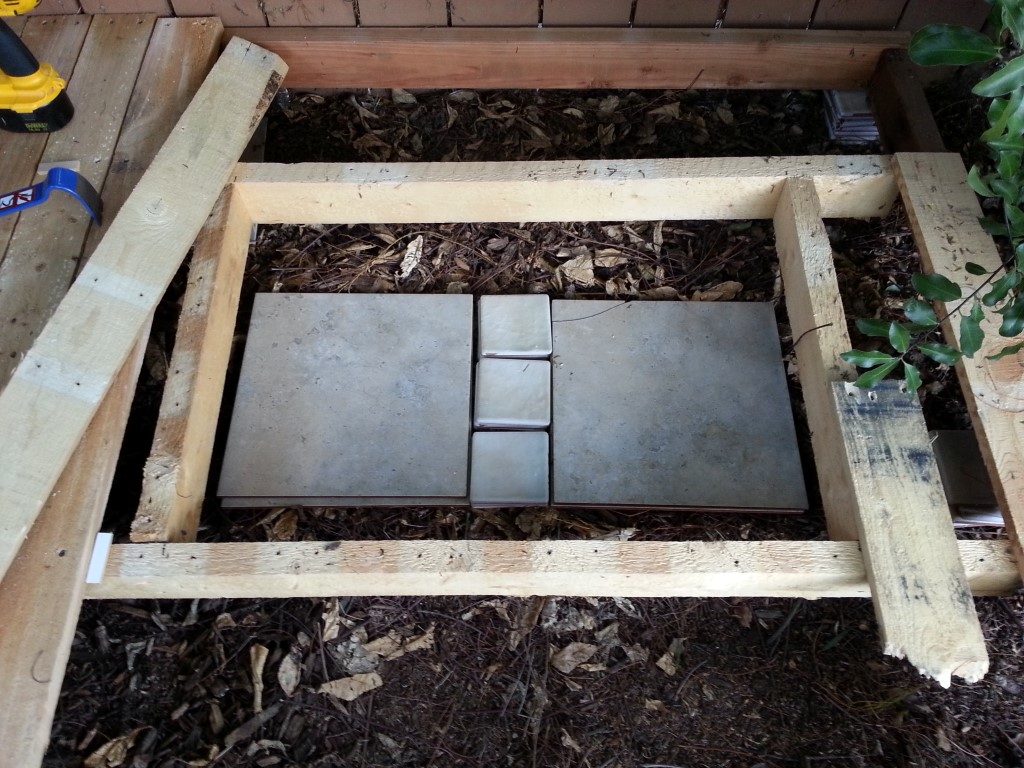
You can see on the two right pictures, that the burner end, the one with the adjustable slot and screw (seen in middle and far right pic) just slides over the gas valve.  After loosing panel screws, I just had to pull on the front panel enough to give it the room to slide in.

Just reassemble what is left and reconnect the gas and check for leaks with soapy water at each joint.  

Cooking with gas

In no time at all, you'll be cooking with gas (I couldn't resist the joke).  There is another step where you inspect the flame and adjust the adjust able slot on each burner in order to get the best flame.  With all of my adjustments, I couldn't see a difference so I left them in the middle.  Maybe its my altitude or lack there of.

I can now happily grill Tri-Tip or anything that needs to sit with the lid closed at an even temperature.
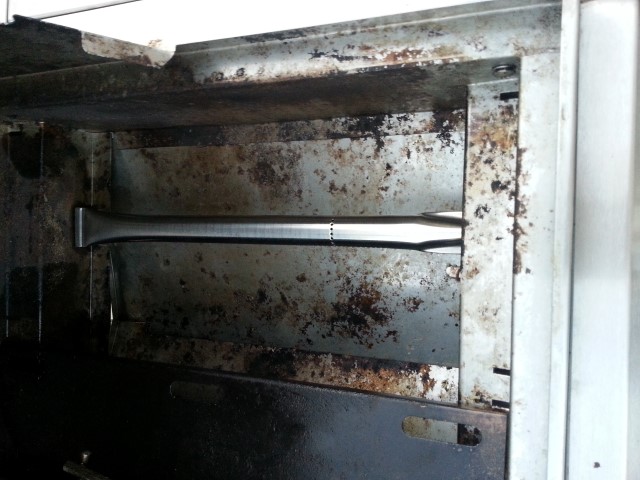
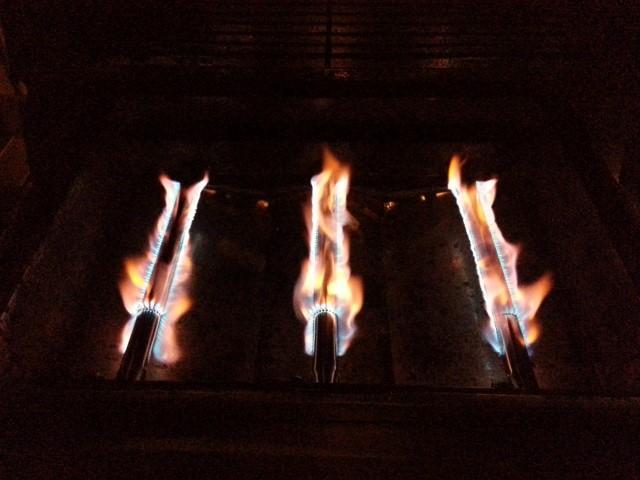
Picture
Picture
2 Comments

Kid's Pallet Wood Deck W/ PLANTER AND SANDBOX

3/1/2014

6 Comments

 
Picture
THIS ISN'T A PLOY TO GET MY KID TO PLAY AS FAR AWAY FROM THE HOUSE WHILE STILL BEING ON OUR PROPERTY, WAIT, IT ISN'T?... 

IT IS A WAY TO GET THE KIDS TO PLAY OUTSIDE, IN THE SHADE.  A PLACE TO KEEP THEIR OUTSIDE TOYS AND NOT HAVE THEM STORED ON THE PATIO.  A PLACE TO GET DIRTY AND TO GET LESS DIRTY AS YOU WALK ACROSS THE YARD BACK TO THE HOUSE AT THE END OF PLAYTIME.

Picture
My son loves playing under our Meyer Lemon tree in the corner of our backyard.  I have been wanting to build something for him since before he was born, and I was thinking maybe a playhouse or a sandbox (unfortunately, he's too small for a treehouse).  I decided I really didn't have the room for a playhouse with a roof since the lemon tree is low, so I thought a deck of his own could be fun and could also house a sandbox.

Picture
The internet has provided me with so many ideas for reusing old shipping pallets.  I want to share my ideas, so I thought I would document my pallet project.  As you can see in the picture, pallets are often discarded and they are often left curbside in industrial areas for recyclers to pick-up.  So you should have more trouble thinking of what to build with pallets, than you would trying to find them.


Picture
There are so many different sizes and quality levels with pallets and it might be easier to let the available pallets you can find help to shape the project.

I needed a basic "L" shaped deck, so after finding a perfectly sized long pallet for the long leg of the "L", I just used a standard single-sized pallet for the return leg.  The picture shows one pallet on top of the other so it might be difficult to see that there are two pictured.

Picture
One thing I didn't realize when "building things with pallets" was that I was going to have to disassemble the pallet if I wanted to make this work as a deck.  The spacing of the slats leaves too large of gaps for a deck, and ripping down thin filler pieces didn't make sense since the wood can be weak and I didn't want the filler pieces to break when stepped on or screwed through.  

The good news is with most pallets the bottom "skid" pieces of wood can be used to fill gaps or replace bad wood on the top of the pallet.  So I essentially had to disassemble the pallet down so that just one slat of wood held all of the cross pieces in place, like an "E" shape.  Disassemble carefully as the wood is soft and had knots so it can split and break if you aren't slow and methodical, and maybe even if you are.


Picture
Picture
TIM'S TOOL TIP - DRILL 'EM OUT
Instead of trying to pry every nail out, it turned out to be much easier and cleaner to drill the nail head off.  Then the board lifts right off of the nail shaft and you use pliers to pull nail out after.

Picture
Picture
Picture
Picture
Here is the letter "E" shaped frame I was left with after pulling off all but one of the slats.  This allows me to place it around the tree trunk, using the open side of the "E".  I re-purposed old tile and other bricks to help level these joists and provide a solid footing.

I didn't have to adjust spacing of the joists or add more for support.  Even though the pallet wood is low quality, they are made to be tough and support a lot of weight.

Picture
Thanks to the previous owners of our home, I found a lot of old tile that needed to be re-purposed.

Picture
So I would just dig down, past the twigs and leaves, down to solid ground and place 2-3 tiles in a stack and measure from the top of that stack to the top of my leveled joist.  I then cut a leg and screw it to the joist.  The leg will just float on the tile stack.  Surprisingly stable and should deter rot.

Picture
Once the tiles are covered over with mulch, it looks good and is stable.  I imagine that this method for footings is best used when you are in a corner like I am, or if you are surrounding a tree trunk like I am.  I can screw into the fence on both sides to keep lateral movement to a minimum while the legs and footings do the heavy lifting.  Worst case the tree won't let the deck slide off of the footings, and with my leveled deck surface most of the forces acting on it will be downward anyway.

Picture
Once the supporting members were level and stabilized, I began screwing the slats on, starting from the back wall were my "key" slat was holding the "E" shaped frame together.  I screwed them using the original nails holes where I could, but pre-drilled and screwed them where I couldn't.  I used a 1/4" drill bit as a spacer between slats, but I also fudged it in places to average out the spacing for the best fit.  This is enough space to allow debris to fall through, but not my child.

Picture
I had originally spaced the boards so that the tree hole would just a gap in a single slat board.  But "fudge happens" and I ended up needing to notch the adjacent slat, so I got creative and made a little house shaped hole to be cute.  Success! Cuteness!

I also supported the board that was cut through to create the hole.  I used a piece of 2x4 wood screwed to the adjacent slats to transfer the load and add support.

Picture
I then turned my attention to the other leg of the "L" shaped deck.  Here I would be placing a storage tub recessed into the deck to use as a small sand box.  I got a clear storage tube with a lid at Ikea that was low and large.  

I created a frame to fit the Ikea storage tub and worked to screw it to the frame pieces, level it, and support it.

Picture
I used some of the tile I had left over to create a stable base for the sand box.  I placed the tub in the hole and shimmed with tile to get uniform support to the bottom of the tub, using sand could work too.

While the tub is strong, it is plastic and it will be loaded with play sand and a toddler or two so you'll want make sure it is supported from underneath to prevent any broken plastic or broken dreams.

Picture
Once the tub frame was the way I wanted it, I then just filled in the remaining slat pieces to complete the deck and dropped in my Ikea tub as a sandbox.  Having a lid means no litter box.

Hey look, he likes it!  It's not finished quite yet but it's a good sign when you can't keep the kid off of it. 

Picture
Due to that area of our back wall being a little bare, I wanted add some greenery and something interesting for the kid.  I came across a pallet project on the internet that used a pallet against a wall as a sort of "living wall" tiered planter.  I also had a bunch of 4" potted succulent plants that I bought in bulk and never got around to planting them.  This plant wall could be the perfect use.

Picture
I found another pallet for the planter wall.  It had a few broken slats, but I planned on only needing 3 tiers so I can just get rid of the broken slats and work with the best parts.  What I need is to create 3 troughs or planters that I can fill with soil and plants.

Someone went crazy with the nail gun on this pallet, so the drilling out the nail heads tip made disassembly possible.  So I removed the slats next to the middle slat.


Picture
Here I have removed some slats so that I end up with slats at the top, bottom, and middle on both sides to create the planter troughs.

I took the best of the slats I removed and reinstalled them where I had broken slats before.

Picture
Once I got all of the slats screwed in where I needed them, I then used some PVC-coated shading cloth stapled (or screwed) to the upper edge of each side of each trough.  The shade fabric will form a "U" shape in each trough and should be sized so that it doesn't show from underneath (when viewed from a distance).  

Each planter is narrow due to the pallet's original dimensions, but you could customize the size if you wish.

Picture
Here it is, in place, ready to be planted.  My plants had grown a bit since I purchased them and then wondered where to put them for so long.  I was able to split the larger plant's root balls so they will fit the pallet's narrow troughs.  

So now I just had to plant what I had and add potting soil to fill in any gaps.  I put what I thought to be more toddler-durable plants in the lower 

FINISHED PRODUCT - LEMONS ANYONE?

Picture
Picture
Picture
OK, so it took me much longer than I thought to complete this project, but I think it was mostly due to having not totally figured out how I wanted to level and support the platform.  I was using old tiles in stacks, but it used up a lot of tiles and wasn't that stable.  Using a few tiles as footings and then cutting a wooden leg to sit on them made more sense. 

LIZARDS AND SPLINTERS - THE NAME OF MY NEW BAND

Picture
Picture
So if you are wondering about pallet wood and splinters, YES there may be splinters.  I was able to minimize them by placing the sides with less splinters "UP" and then lightly sanding areas.  

Something I might end up doing is painting the deck with one of the new thick deck paints that seal in any splinters.

6 Comments

    Author

    Macgyver + Gizmologist + Hacketeer = Timgineer

    Archives

    June 2015
    March 2014

    Categories

    All

    RSS Feed

    follow timgineered

Proudly powered by Weebly